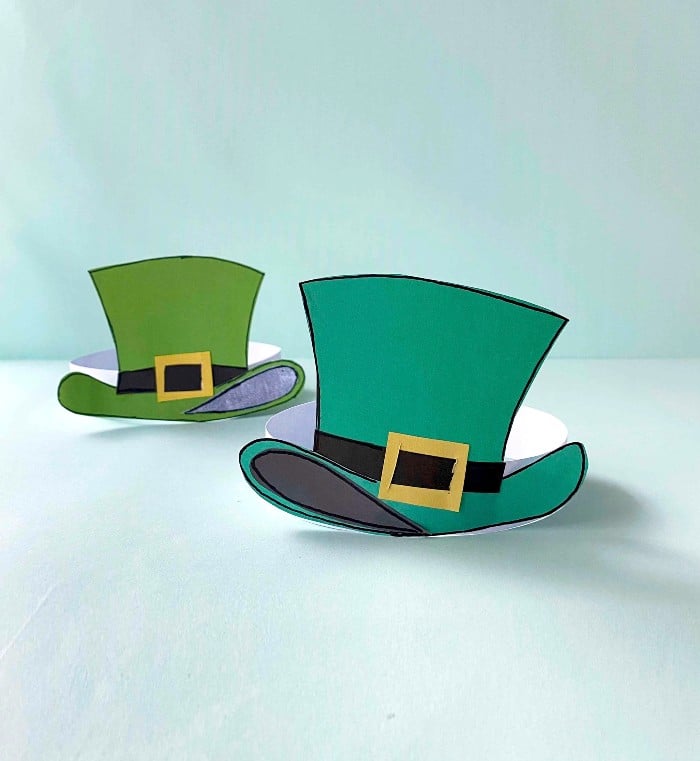
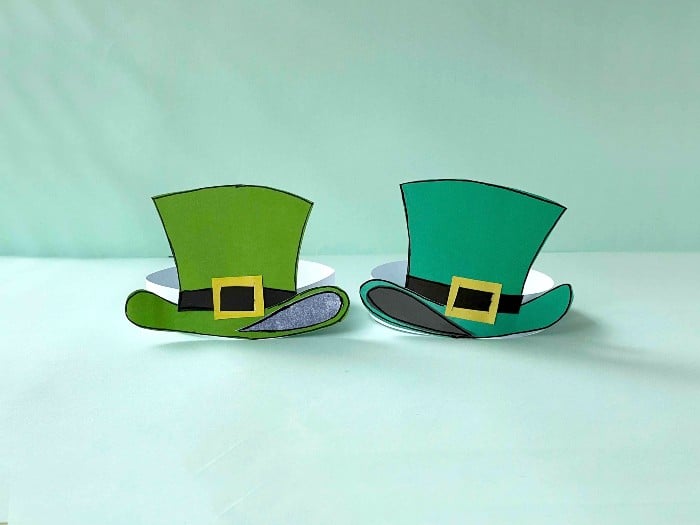
This cute St. Patrick’s Day hat craft is an easy activity for the kids to do. Once they start making their hats, they won’t be able to wait to be Leprechauns. What better way to celebrate the occasion than with younger kids?

There are many different traditions on the occasion, many of which are for adults and not so much for younger children. Doing these St. Patrick’s Day Hat Craft will definitely get them interested in the magical part of the day. Add this to your list of activities for March break.
How to Make a Leprechaun Hat
Making a Leprechaun hat is easy and will only take a few minutes using the free leprechaun hat template below. You only need a few materials, and you will be ready to begin. If you already have green craft paper, then you can begin. IF you need to purchase some pick your favourite shade of green. Measure around you or your child’s head so that it will fit properly. Once you have cut and measured your paper using the template you are ready to assemble the hat. With a bit of glue, this craft is ready for St. Patrick’s Day.

Why is the Leprechaun Associated with St. Patrick’s Day
Leprechauns are one of the main symbols of the Irish holiday. They are a folklore myth, and the name comes from the word “lobaircin” which means small-bodied fellow. Legends have it that leprechauns come from the Celtic belief in fairies. These tiny men and women use their magical powers for good and evil.
So why is the Leprechaun associated with St. Patrick’s Day? Well, both St. Patrick and leprechauns are from Ireland. These tiny little men are known for trickery when protecting their treasures of gold. This is why we always see them at the end of the rainbow with a pot of gold coins. Check out this Pot of Gold craft to add to the festivities. Now that you have a bit of knowledge about the mythical leprechauns, you can now print off the template to begin your Saint Patrick’s Day hat craft.
St. Patrick’s Day Hat Craft

This leprechaun hat craft is so much fun to make with your children. You only need a few supplies you most likely already have on hand at home.
List of Supplies for the St. Patrick’s Day hat:
- Coloured craft papers (green, yellow, and black)
- White card stock paper
- Pencil – to trace the template
- Black or grey marker (you can use black or grey coloured paper too)
- Craft glue
- A pair of scissors
- Free leprechaun hat template

How to make the St. Patrick’s Day Hat
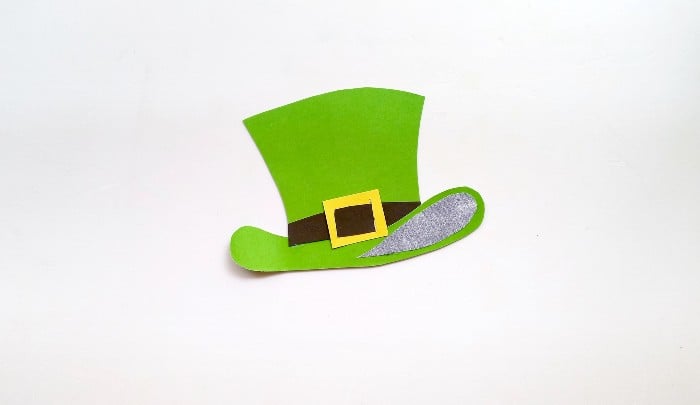
Step 1: Select coloured craft papers and prepare the template patterns by printing and cutting them out. Trace the template patterns on the craft papers and cut them out nicely. The template includes hat top-base, brim (bottom part of the hat), belt, buckle, and a teardrop shape (under brim or bottom-inner layer).

Step 2: Cut slits along the sides of the buckle cutout (the square piece) and insert the belt strip through the slits. Attach the teardrop cutout on any one side of the bottom part of the hat with glue. You can colour the teardrop in grey or black or use coloured paper in one of those colours.

Step 3: Attach the belt along the bottom side of the top-base with glue.

Step 4: Attach the brim pattern along the bottom side of the top base with glue.

Step 5: Measure and cut out a long strip from the white card tock paper to make the hat band or ring. The strip should be big enough to make a ring that fits into a head.

Step 6: Join the open sides of the strip to form the ring and glue together.

Step 7: Attach the card stock ring on the backside of the St. Patrick’s Day hat with glue.

I hope you enjoyed this St. Patrick’s Day hat as much as I did! If you make this craft, please share your photos with us on Facebook or Twitter! Also, check out all of our other crafts!

St. Patrick's Day Hat Craft
This cute St. Patrick’s Day hat craft is an easy activity for the kids to do. Once they start making their hats, they won’t be able to wait to be Leprechauns.
Materials
- Coloured craft papers (green, yellow, and black)
- White card stock paper
- Pencil – to trace the template
- Black or grey marker (you can use black or grey coloured paper too)
- Craft glue
- Free leprechaun hat template
Tools
- A pair of scissors
Instructions
Step 1: Select coloured craft papers and prepare the template patterns by printing and cutting them out. Trace the template patterns on the craft papers and cut them out nicely. The template includes hat top-base, brim (bottom part of the hat), belt, buckle, and a teardrop shape (under brim or bottom-inner layer).

Step 2: Cut slits along the sides of the buckle cutout (the square piece) and insert the belt strip through the slits. Attach the teardrop cutout on any one side of the bottom part of the hat with glue. You can colour the teardrop in grey or black or use coloured paper in one of those colours.

Step 3: Attach the belt along the bottom side of the top-base with glue.

Step 4: Attach the brim pattern along the bottom side of the top base with glue.

Step 5: Measure and cut out a long strip from the white card tock paper to make the hat band or ring. The strip should be big enough to make a ring that fits into a head.

Step 6: Join the open sides of the strip to form the ring and glue together.

Step 7: Attach the card stock ring on the backside of the St. Patrick’s Day hat with glue.


fun way to celebrate the day
Would be fun to make these for our whole family next St Patrick’s day.
These are just adorable and one craft that we are so making next St. Patrick’s Day.
Have a nephew who has the middle name Patrick and his birthday is close to St Patrick’s Day and next year this would be a great item to make with him,
I am sure that he would love that craft!
Super cute St. Patrick’s Day craft.
Thes hats would be fun to make with my granddaughter next year.
Cute craft! This would be a fun project to make with my grandkids.
These are adorable – I’ll have to try this at home.
This would be a fun craft to make with my grandchildren next St. Patrick’s Day. They would love it!